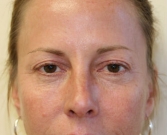
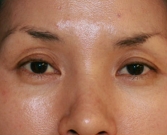
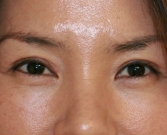
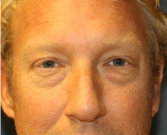
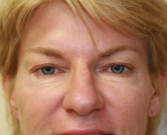
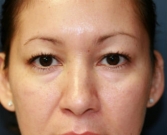
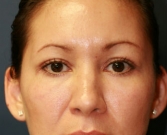
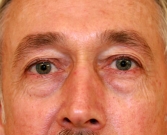
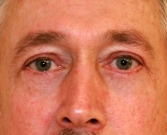
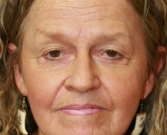
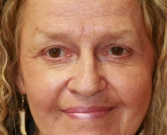
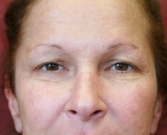
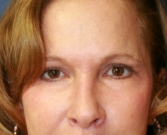
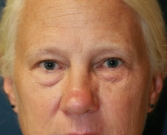
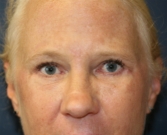
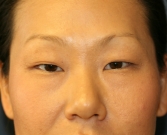
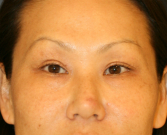
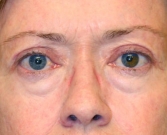
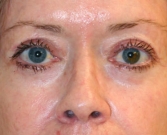
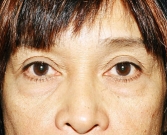
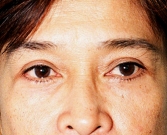
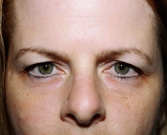
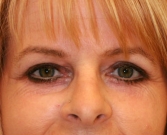
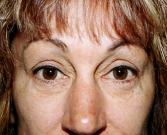
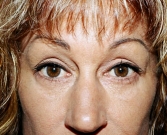
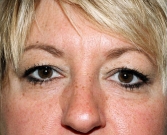
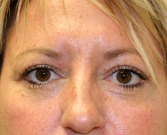
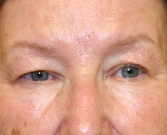
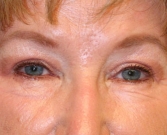
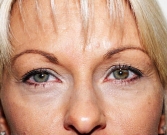
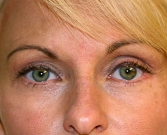
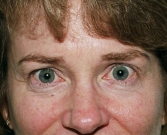
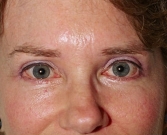
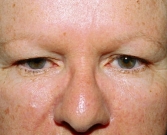
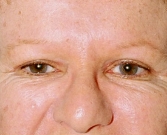
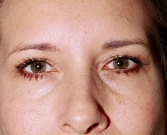
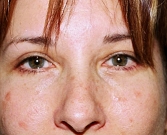
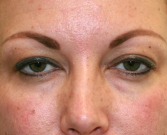
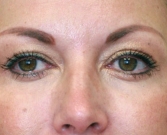
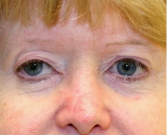
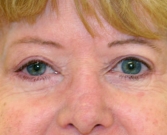
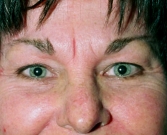
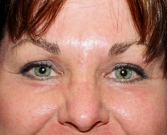
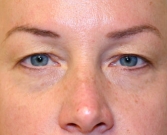
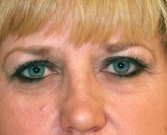
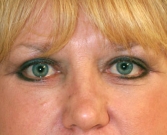
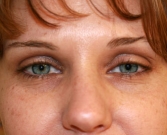
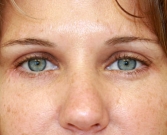
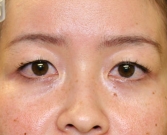
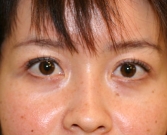
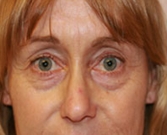
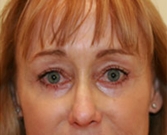
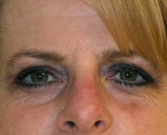
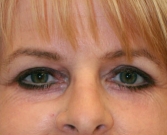
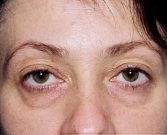
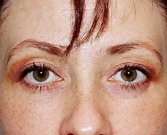
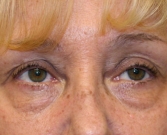
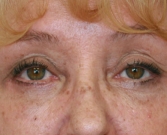
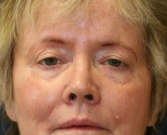
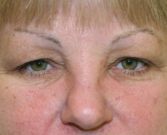
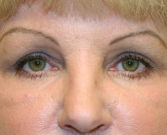
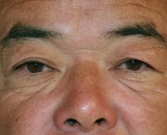
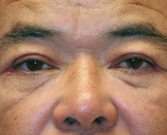
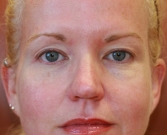
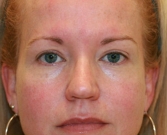
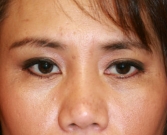
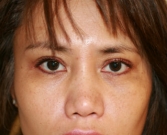
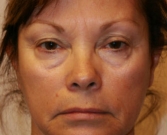
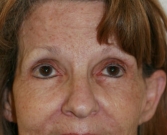
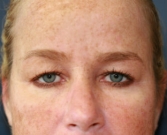
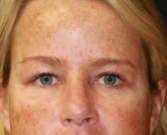
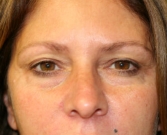
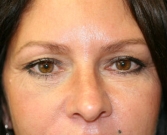
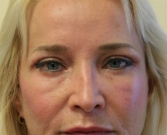
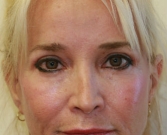
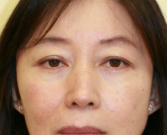
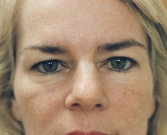
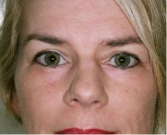
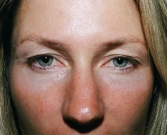
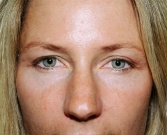
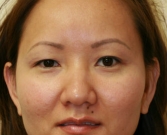
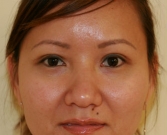
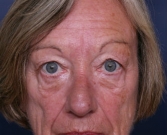
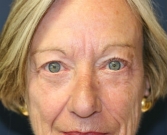
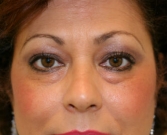
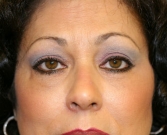
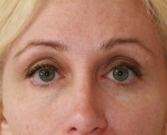
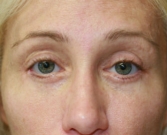
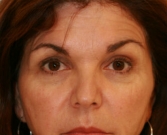
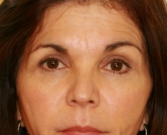
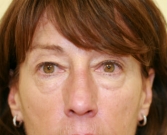
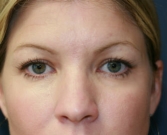
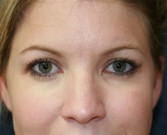
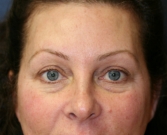
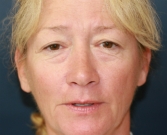
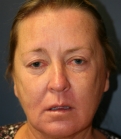
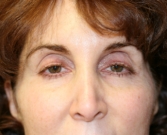
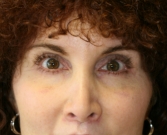
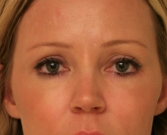
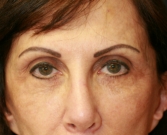
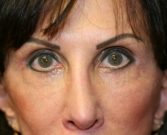
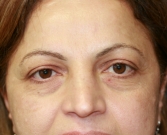
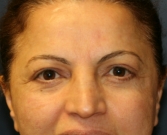
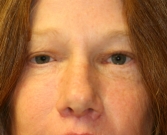
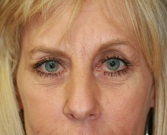
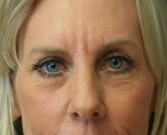
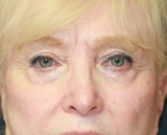
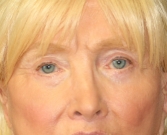
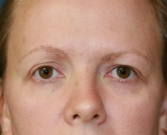
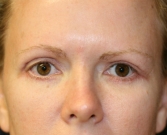
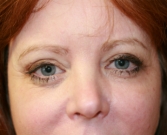
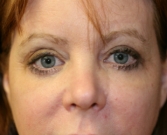
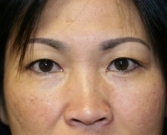
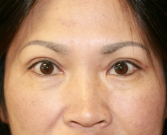
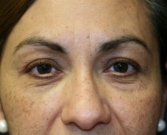
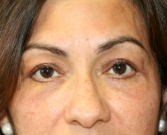
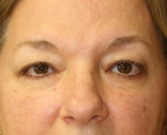
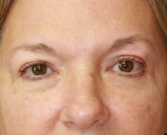
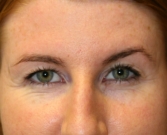
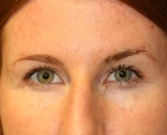
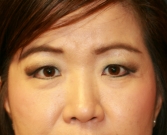
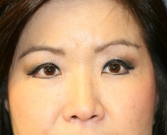
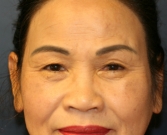
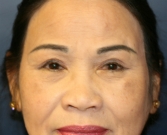
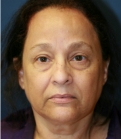
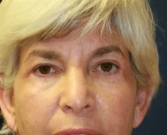
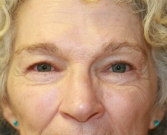
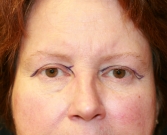
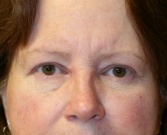
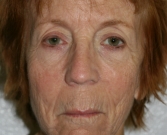
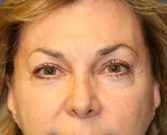
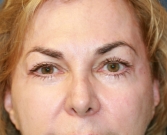
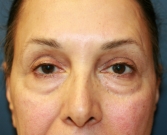
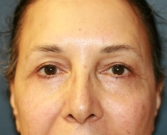
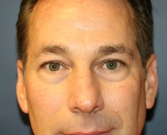
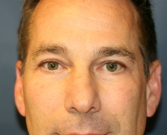
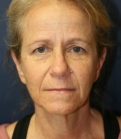
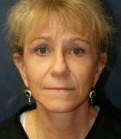
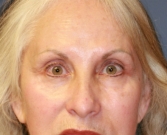
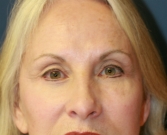
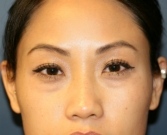
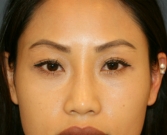
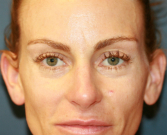
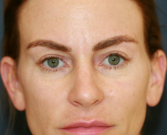
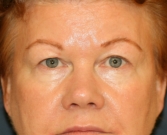
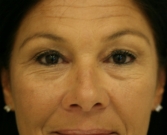
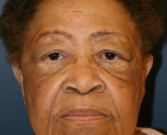
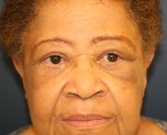
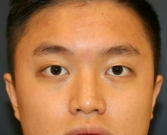
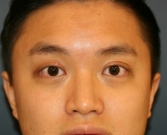
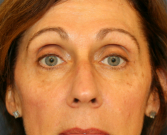
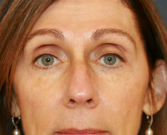
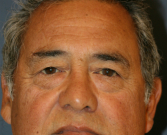
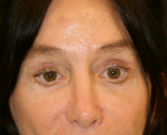
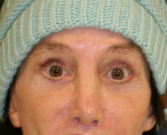
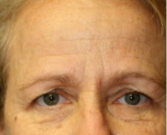
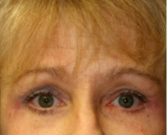
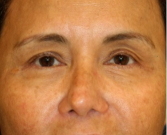
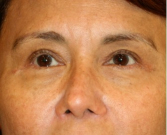
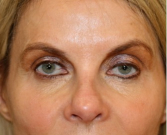
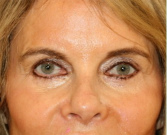
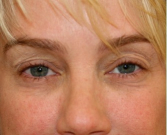
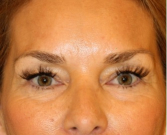
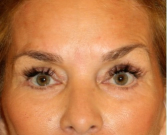
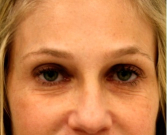
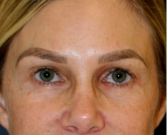
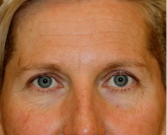
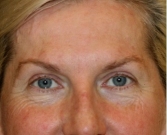
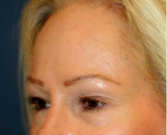
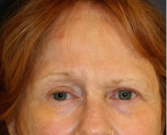
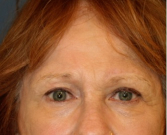
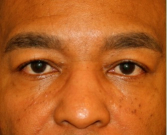
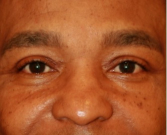
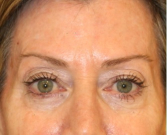
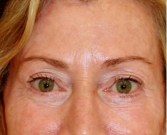
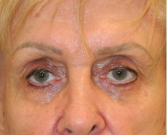
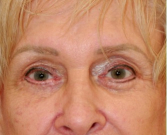
Blepharoplasty (Eyelid Rejuvenation) Photo Gallery « Back to Gallery Blepharoplasty Case 28 More Info Blepharoplasty Case 23 More Info Eyelid-rejuvenation-80 More Info Blepharoplasty Case 31 More Info Blepharoplasty Case 33 More Info Blepharoplasty Case 1 More Info Blepharoplasty Case 35 More Info Blepharoplasty Case 29 More Info eyelid-surgery-san-diego-68 More Info Eyelid Surgery San Diego 52 More Info eyelid-surgery-san-diego-66 More Info Blepharoplasty Case 12 More Info Blepharoplasty Case 2 More Info Blepharoplasty Case 3 More Info Blepharoplasty Case 4 More Info Blepharoplasty Case 5 More Info Blepharoplasty Case 6 More Info Blepharoplasty Case 7 More Info Blepharoplasty Case 8 More Info Blepharoplasty Case 9 More Info Blepharoplasty Case 10 More Info Blepharoplasty Case 11 More Info Blepharoplasty Case 13 More Info Blepharoplasty Case 14 More Info Blepharoplasty Case 15 More Info Blepharoplasty Case 16 More Info Blepharoplasty Case 17 More Info Blepharoplasty Case 18 More Info Blepharoplasty Case 19 More Info Blepharoplasty Case 20 More Info Blepharoplasty Case 21 More Info Blepharoplasty Case 22 More Info eye-lift-san-diego-56 More Info Blepharoplasty Case 24 More Info Blepharoplasty Case 25 More Info Blepharoplasty Case 26 More Info Blepharoplasty Case 27 More Info Blepharoplasty Case 30 More Info Blepharoplasty Case 32 More Info Blepharoplasty Case 36 More Info Eyelid Surgery San Diego Case 37 More Info Eyelid Surgery San Diego Case 38 More Info Eyelid Surgery San Diego Case 39 More Info Eyelid Surgery San Diego Case 40 More Info Eyelid Surgery San Diego Case 41 More Info Eyelid Surgery San Diego Case 42 More Info Eyelid Surgery San Diego Case 43 More Info Eyelid Surgery San Diego Case 44 More Info Eyelid Surgery San Diego Case 45 More Info Eyelid Surgery San Diego Case 46 More Info Eyelid Surgery San Diego Case 47 More Info Eyelid Surgery San Diego Case 48 More Info Eyelid Surgery San Diego Case 49 More Info Eyelid Surgery San Diego Case 50 More Info Eyelid Rejuvenation San Diego 54 More Info Eyelid Surgery San Diego 51 More Info Eyelid Surgery San Diego 53 More Info Eyelid-Lift-San-Diego-55 More Info eye-lift-san-diego-57 More Info eye-lift-san-diego-58 More Info eye-lift-san-diego-59 More Info eye-lift-san-diego-60 More Info eye-lift-san-diego-61 More Info eye-lift-san-diego-62 More Info Eyelid-Lift-San-Diego-63 More Info Eyelid-Lift-San-Diego-64 More Info eyelid-surgery-san-diego-67 More Info eyelid-surgery-san-diego-69 More Info Eyelid Surgery San Diego Case 70 More Info Eyelid Surgery San Diego Case 71 More Info Double Eyelid Procedure (Upper & Lower) More Info Eyelid Lift San Diego 73 More Info Eyelid Rejuvenation San Diego 74 More Info Eyelid Refresh San Diego 75 More Info Eyelid Refresh San Diego 76 More Info Eyelid Refresh San Diego 77 More Info Eyelid Refresh San Diego 78 More Info Eyelid Refresh San Diego 79 More Info Eyelid-rejuvenation-81 More Info Bags-under-eyes-san-diego More Info eyelid rejuvenation san diego More Info Removing grafted eyelid fat More Info Lower eyelid bulges removal More Info Procedure to Open Eyelids Slightly More Info Upper Eyelid Skin Removal More Info Lower eyelid tightening surgery More Info Upper and Lower Eyelid with Corner of Lip Lift More Info Upper Eyelids Removal Sagging Skin More Info Double Eyelid (Asian) More Info Asian Eyelid Crease More Info Eyelid Surgery San Diego 93 More Info Tired Eyes Treatment More Info Revision Eyelid Surgery More Info Blepharoplasty Under Browlift 101 More Info Blepharoplasty Upper Eyelids 102 More Info Blepharoplasty Upper Eyelids 103 More Info Blepharoplasty Upper Eyelids 104 More Info Blepharoplasty 105 More Info Blepharoplasty Upper/Lower Eyelids 106 More Info Blepharoplasty Upper Browlift 107 More Info Blepharoplasty 108 More Info Blepharoplasty 109 More Info Blepharoplasty 110 More Info Blepharoplasty 111 More Info Blepharoplasty 112 More Info Blepharoplasty 113 More Info
 Book Now